This post may contain affiliate links. Please read our disclosure policy.
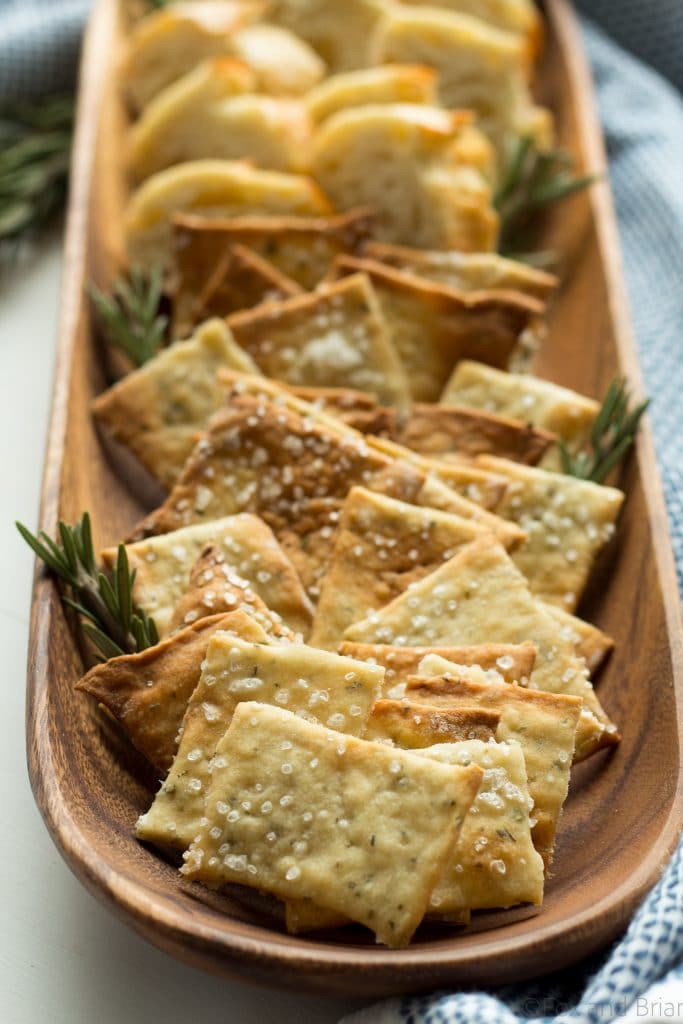
These easy homemade Rosemary Sea Salt Crackers are the perfect addition to your cheese plate, or just to have on hand for snacking. They are so simple to make, and take less than thirty minutes.
Why make Homemade Crackers?
I normally buy some artisanal crackers to go with my cheese plate when hosting guests. Lately I have been really wishing for some rosemary flavored crackers, and so I decided to give homemade crackers a shot. I never have before because I thought it would be really time-consuming and just not worth the effort. Well, let me tell you – it is SO easy, and the homemade crackers are delicious. Totally worth it. Plus if you casually mention that you made those crackers your guests are going to think you are amazing (P.S., you are amazing, they don’t have to know how easy it was!)
Healthy Homemade Baked crackers
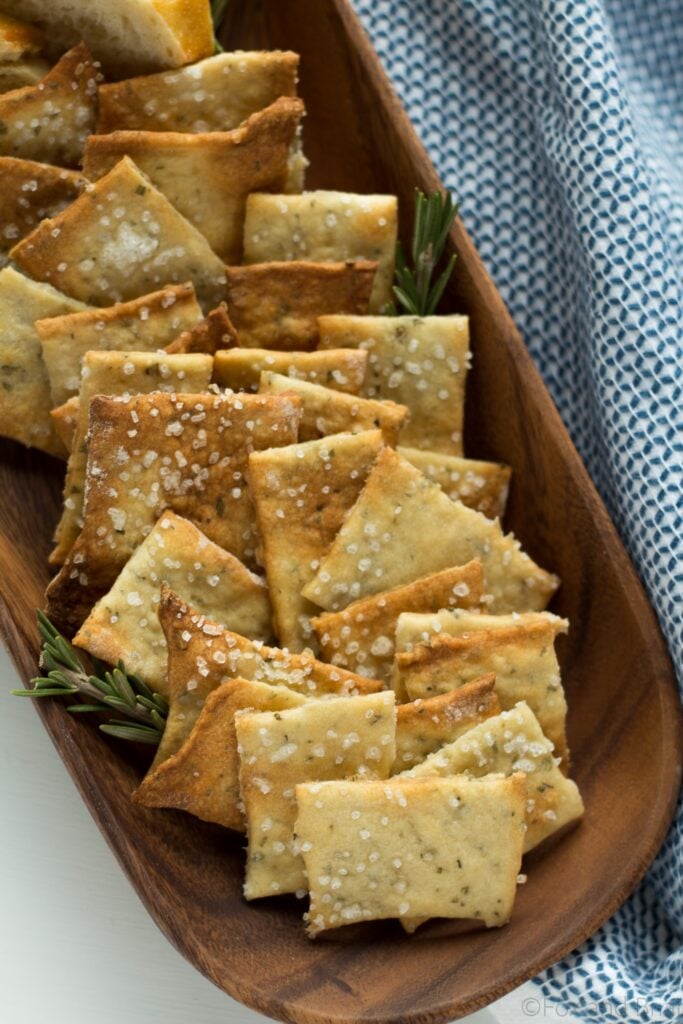
Just a few ingredients and less than thirty minutes, and you have some fancy crackers that you made yourself. I decided to use rosemary and sea salt because I get really into rosemary in the winter and it goes so well with cheese. And I sprinkled sea salt on top because I like my crackers a little salty. But you can really flavor this with any herb or spice that you want. These baked crackers are to super crispy and have a few air pockets in them which gives them a rustic look and a nice crunch.
How to make homemade rosemary sea salt crackers
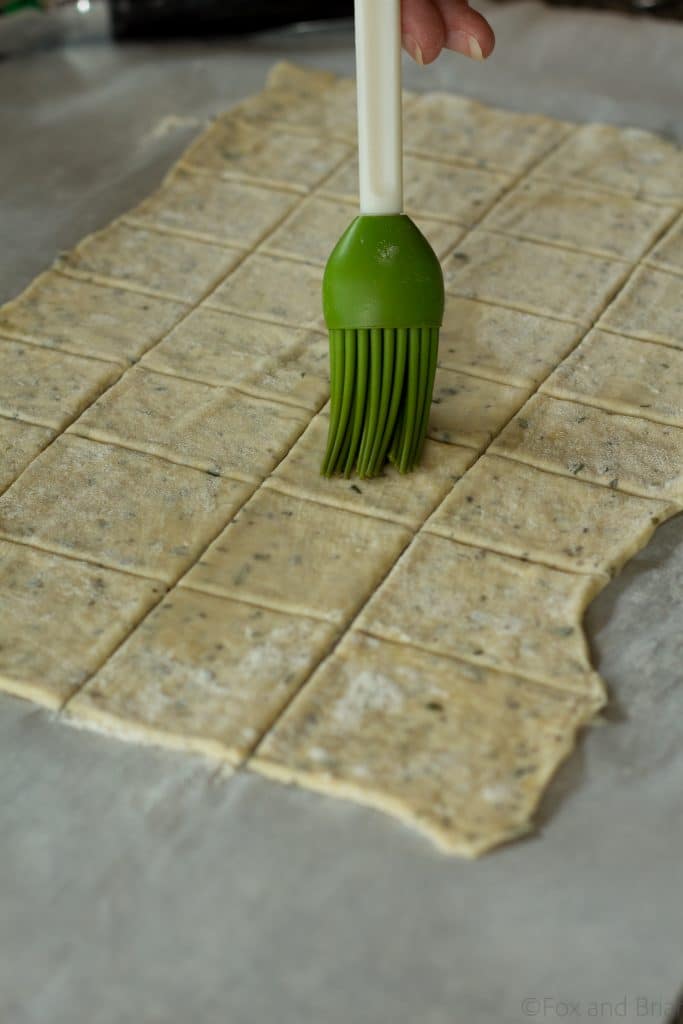
The easiest and fastest way to do this is to roll the dough out right on a piece of parchment paper, cut them with a pizza cutter and then transfer the parchment paper right onto a cookie sheet. When I first envisioned these crackers, I imagined cute little rounds. However, I quickly found that I prefer to just cut these into squares because it is about 10 times faster, and also you don’t waste any of the dough like you do when you cut them into rounds. This means that the crackers have excess flour on them after baking, which is not ideal. If you roll it out on the parchment you don’t need to use as much flour, and it saves you a bit of a mess, which is a win/win. Of course, feel free to cut them out into shapes if you want, you can use cookie cutters or even a small jar or glass.
Tips for making the best homemade crackers
- Roll out the dough as thin as possible. They need to be thin in order to get crispy, but if some parts are thinner than others they will bake unevenly. I use a rolling pin for this but some readers have used a pasta roller.
- Trim the edges. The edges tend to get thinner, so for this batch I trimmed them. You don’t need to do that if you don’t want to, but be aware that the edges might get brown.
- Make sure the dough lays completely flat. If the edges turn up (because they hit the edge of the baking sheet) those parts will not get as crispy and the tops will burn a bit.
- Start with a very hot oven. Preheat the oven to 500 degrees so that it is really hot when they go in, which creates steam. But be sure to turn the oven down to 425 right when you put them in so they don’t burn.
What to serve with homemade rosemary sea salt crackers?
- Cranberry Jalapeno Dip
- Hummus
- Charcuterie
- A variety of cheese

Rosemary Sea Salt Crackers

Ingredients
- 1 ½ cups all purpose flour
- 1 teaspoon coarse sea salt
- 1 teaspoon sugar
- 1 tablespoon fresh rosemary finely chopped
- 1 ½ tablespoons olive oil
- 1/2 cup water
- extra sea salt for topping if desired.
Instructions
- Preheat oven to 500°F degrees.
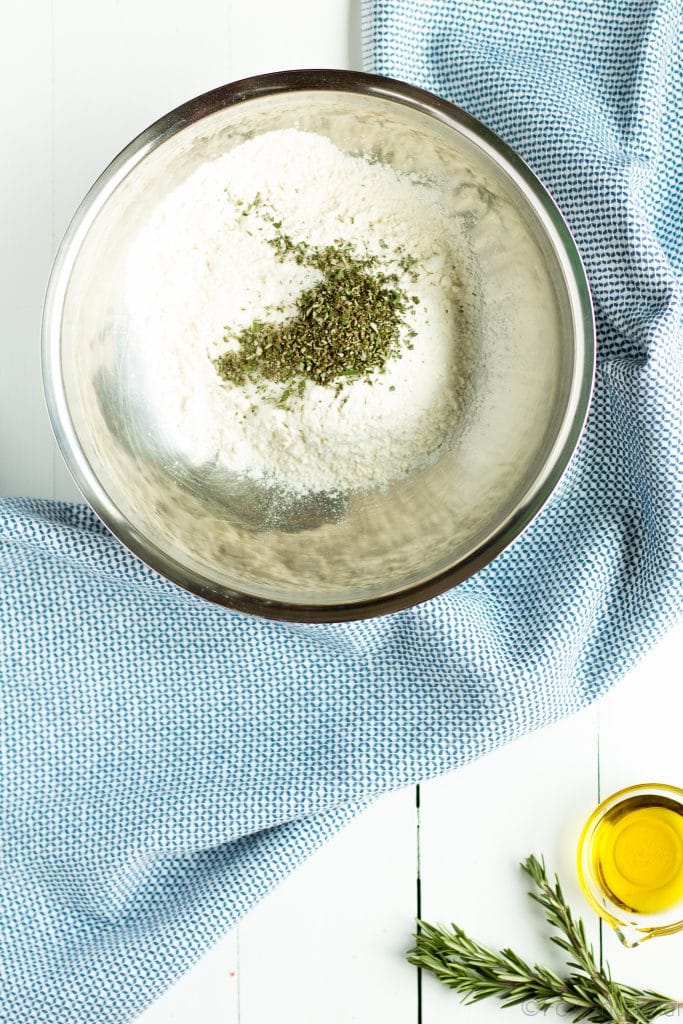
- Place flour, salt, sugar and rosemary in a bowl, whisk to combine.
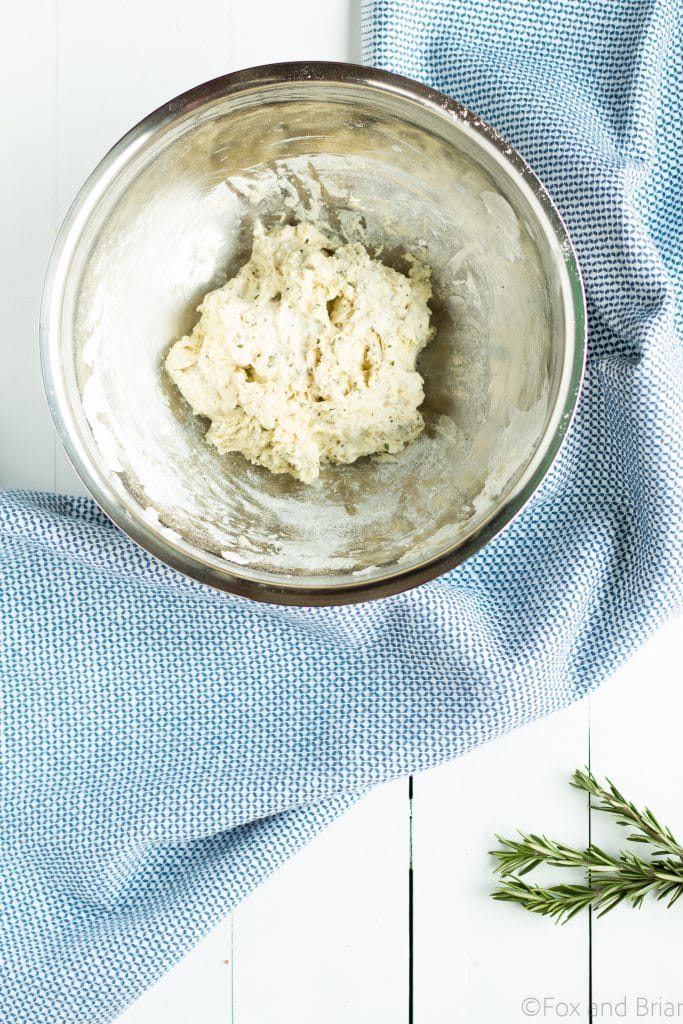
- Stir in water and oil, stir until fully combined.
- Turn dough out onto a lightly floured piece of parchment paper (slightly larger than your baking sheet.)
- Roll the dough until it is about 1/8th of an inch thick. you may need to add a bit of flour because the dough is quite sticky. Try to keep the thickness as even as possible.
- Trim the edges if you want. The edges tend to be thinner and so they may burn in the oven before the rest of the crackers are done.
- Cut the dough into squares using a pizza cutter. Brush with a little water and sprinkle with more sea salt if desired. Use a fork to prick each square a few times.
- Transfer the dough, still on the parchment paper, onto a baking sheet and place it in the oven. Immediately reduce heat to 425°F.
- Bake for 12–17 minutes, or until crackers are starting to become golden.
Notes
**This only makes about 30-40 crackers, so make a double batch (or more) if you are having a party. If you make a double batch, split dough in half and roll out in two batches.
Nutrition
Nutrition information is automatically calculated, so should only be used as an approximation.
Adapted from The Kitchn
This was originally posted on 12/21/2015. It was updated on 12/16/2022.





Sooooo delicious, made without sugar and the crackers came out incredible!
I’m usually really bad at getting homemade crackers to be crispy, but these turned out great! Made sure to roll super thin, poked a few holes, and baked not just until they were starting to get golden, but until they had some color on them, and they turned out crunchy! The first batch I baked until just golden, and they were crunchy on the outside, but a little chewy on the inside, so I baked them longer. This also could be because I didn’t wait until the crackers were fully cooled before trying them. My oven also doesn’t go higher than 450F, so I just preheated to 450F, then turned it down to 425F when I put the crackers in, and they still turned out great. Also used rosemary I had dried the previous year, and the flavor was still good! Tried sprinkling some salt on top, but was way too salty for me, so will skip that next time I make these. I also cut the recipe in half during the first time making these just in case.
I’m so glad you love them!
Do these preserve and how long for
Hi, they should last a few days in an airtight container.
How well do these store?
Hi Heather – I would say they should last a few days in an airtight container.
Loved your site, very well laid out and the photography is beautiful. Very pro looking.
Thank you Scott!
500F ? No oven I’ve ever had has 500 and If I put mine at 450, the smoke alarms go off even with my oven being clean. Can i do it at 425?
Hi Rose – interesting! My ovens have always gone to 550 F. I haven’t tried it at 425. I think it would work but you may have to bake them longer.
Really really wonderful!
I used dried rosemary and that worked great! looking forward to using this as a base for other herbs too!
I used the break after baking method instead of precutting, worked amazing
I didn’t roll the dough as evenly as I could have, so some parts where a lil chunky. If anyone makes a similar mistake, I sprinkled on a little bit of olive oil on these areas after baking and it really helped
So happy to hear that!
My crackers came out very tough and hard, which surprised me given the other comments. I followed the recipe faithfully except omitting parchment paper which we did not have, and instead brushing the baking sheets with olive oil which worked perfectly. I wonder if I should have mixed the dough less, maybe the gluten became too tight?
Hi Jolee – this is most likely because they were not rolled thin enough. I roll them out on the parchment paper because it makes moving them to the baking sheet easier, which is hard to do when the dough is very thin.
I’m so enjoying this recipe, I just add to it whatever I have on hand it it turns out FANTASTIC every bvb time.
Thank you.
Love these crackers, I’ve made them three times so far, perfect amount of crunch and good flavour! Always a crowd pleaser and way cheaper than buying the same amount of gourtmet crackers.
So glad you loved them!
Hello Meghan,
Thank you for the great recipe. I was almost out of flour but thought I would give them a go. Used 1/3 flour, 1/3 brown rice flour and 1/3 semolina. Worked fine. Also added every kind of seed I had plus garlic. Used dried rosemary. Rolled the dough between 2 sheets of parchment, peeled the top one off and baked them with the bottom one. They are really good. Started to burn towards the end of the 12 minutes but that’s okay. Have been searching for a good cracker recipe for some time. I made galletti for the Malta boy but they are way too hard and his teeth wouldn’t do it. These are just right, very easy and so much cheaper and tastier than store bought. cheers!
So glad to hear you love them! Thanks for the substitution feedback!
Very good & easy.. played around with different flavors. Rolled out with my pasta machine, made it super easy to get them thin enough and place on parchment. Thank you for a great addition
Great idea using the pasta machine! So glad you loved them!
Great idea about using the pasta roller attachment as suggested by one reviewer -thank you for your recipes and reviewer comments!
I needed to roll a bit thinner, but came out crisp, and nice hint of rosemary. I used I small heart shaped cutter, very cute.
So glad to hear that you loved them!
It did need more patience to roll to a quarter inch😊 and I was in a hurry. But I enjoyed the taste
So glad you liked them!
How long do you think these would store? If they even lasted that long, they look delish!
Hi, probably a few days in an airtight container!
These are really nice crackers. Of course the hardest part is rolling them out thin enough. I added everything bagel seasoning to the top and rolled it in with my rolling pin. Delicious! Thank you for the recipe.
So glad you loved them!
Tasty but really tough. Not like a cracker
Hi Jeff, sounds like they weren’t rolled thin enough.
I made these as part of a gift basket. I made a plain dough but then topped with Vietnamese salt spicy pepper mix – so good! Will definitely experiment with more flavour combos
These sound great. I’ve seen you mentioned they can be made a day ahead but I was wondering if you can make the dough and freeze it, then defrost closer to the time roll out and bake?
Hi Rebecca – I haven’t tried that but I think it would probably work.
Made them per the recipe and they were very nice, crunchy and salty. Easy to whip up especially with my pasta roller. The hardest part was catching them before they got too toasty. I went all in with a round fluted biscuit cutter which turned out very pretty, but next time will probably go with the break-after-baking crisp method mentioned in another post.
I added a bit of fresh cracked pepper and garlic powder to the second batch which I will do again. Now I’m wondering what magic parmesan might do if mixed into the dough… hmmm.
So glad you liked them!
These turned out really well and loved by all! just a couple of things to note… they will keep for several days in an airtight container and i pulsed mine in a food processor. it made the mixing a lot easier! I will try another’s idea about the pasta maker!
So glad you loved them!